
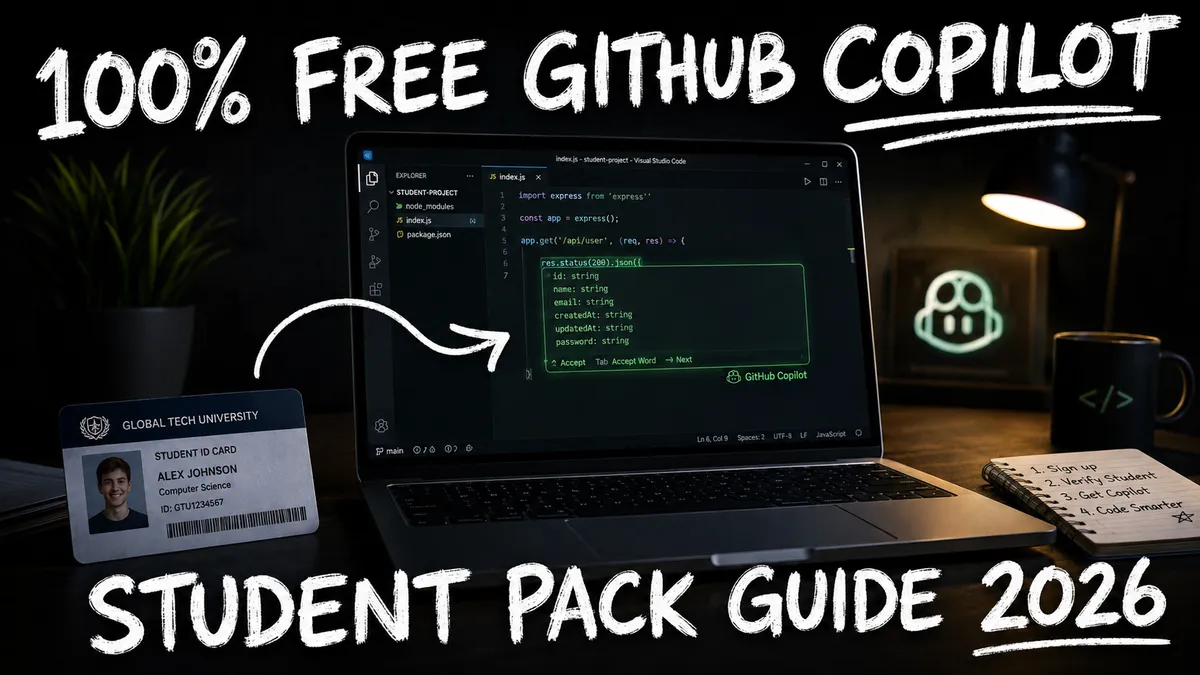
How to Get GitHub Copilot for FREE (100% Legal): The Step-by-Step Student Developer Pack Guide (2026)
Step-by-step guide to get GitHub Copilot 100% free with the GitHub Student Developer Pack in 2026. Includes approval tips, rejection fixes, and VS Code setup.
On this page 14 sections
Key takeaways
To get GitHub Copilot for free in 2026, apply for the GitHub Student Developer Pack at education.github.com/pack using your school email (.edu or equivalent) or valid student ID. Ensure your GitHub profile name matches your ID card, enable 2FA, and disable any VPN before applying. Once approved (typically within 24 to 72 hours), activate GitHub Copilot Student in your GitHub settings and install the extension in VS Code or JetBrains. No credit card is required.
GitHub Copilot is the gold standard AI coding assistant in 2026. Whether you are building web apps, debugging Python scripts, or generating smart contracts, Copilot saves hours of tedious coding.
Normally, GitHub Copilot costs $10/month or $100/year.
However, if you are a high school, college, university, or bootcamp student, you can get GitHub Copilot 100% free as part of the GitHub Student Developer Pack.
This comprehensive, step-by-step guide walks you through the eligibility requirements, application secrets to guarantee fast approval, how to fix annoying rejections, and how to activate Copilot in Visual Studio Code.
🎯 What You Actually Get (The Student Perk Breakdown)
When your student application is approved, you unlock GitHub Copilot Student.
| Feature | Paid Individual Plan ($10/mo) | Student Pack Plan ($0/mo) |
|---|---|---|
| Real-time Code Autocompletion | Unlimited | Unlimited (Free) |
| Copilot Chat (in VS Code & JetBrains) | Included | Included (Free) |
| CLI & Terminal Commands | Included | Included (Free) |
| Model Selection (GPT-4o & Claude 3.5) | Included | Included (Free) |
| Billing Requirement | Credit card required | No credit card needed |
Beyond Copilot, verified student portals like StudentOffers.co note that the Student Pack also unlocks over $50,000 in additional perks, including 1 year of free Canva Pro, $100 in Microsoft Azure cloud credits, free JetBrains IDE licenses, and free domains from Namecheap.
📋 Eligibility Requirements (2026 Checklist)
To qualify for the free student license, you must meet four simple conditions:
- Current Enrollment: Enrolled in a degree-, diploma-, or certificate-granting institution (high school, college, university, or accredited homeschool).
- Age: At least 13 years old.
- GitHub Account: An active personal GitHub account with Two-Factor Authentication (2FA) enabled.
- Proof of Status: A school-issued email (e.g.,
.edu,.ac.uk,.edu.au) OR a verifiable student ID card / class schedule.
🚀 Step-by-Step: How to Apply & Get Approved (In Under 5 Minutes)
Follow these exact steps to ensure the automated verification system approves your application on the first attempt:
[Update Profile] ➔ [Connect School Email] ➔ [Upload Proof on Campus] ➔ [Activate Copilot]
Step 1: Prepare Your GitHub Profile (Crucial Anti-Rejection Step)
Before visiting the education portal, make sure your GitHub account details match your school records:
- Go to GitHub Settings > Profile.
- Change the Name field to your Full Legal Name (exactly as it appears on your student ID). Do not use nicknames or gamer handles.
- Go to Settings > Billing and Plans > Payment Information. Fill in your legal name and address (no credit card required).
Step 2: Add and Verify Your Academic Email
- Go to Settings > Emails.
- Add your university/school email address and click the verification link sent to your academic inbox.
- Note: If your school does not provide student emails, you can still apply using your personal email by uploading your physical student ID in Step 3.
Step 3: Submit Your Application
- Open your browser and navigate to the GitHub Education Pack Portal.
- Click the blue "Get student benefits" button.
- Select your academic email from the dropdown list.
- Enter the name of your educational institution.
- State briefly how you plan to use GitHub (e.g., "To learn full-stack web development and complete computer science coursework").
- Upload Proof: Take a live, clear photo of your student ID card, official transcript, or current semester fee receipt using your phone camera or webcam.
- Click Submit Your Application.
⚠️ Common Rejection Reasons & How to Fix Them
If your application was rejected or put on hold, 99% of the time it is due to one of these five automated trigger flags:
❌ REJECTION FLAG                         ✅ THE INSTANT FIX
─────────────────────────────────────────────────────────────────────────────
1. VPN or Proxy Detected            Turn off all VPNs and private DNS. Apply on campus Wi-Fi.
2. Name Mismatch                    Change your GitHub Profile Name to match your student ID.
3. Blurry / Cropped ID Photo        Take a well-lit photo showing all 4 corners and the current date.
4. Location Mismatch                Enable browser location permissions when submitting.
5. Missing 2FA Security             Enable Two-Factor Authentication in GitHub Security Settings.
Pro Tip for Non-.EDU Students:
If your school is not in the United States and uses local documentation, ensure your document clearly shows a valid expiration date or the current academic year (2025–2026). If the document is in another language, place your student ID next to an official English translation or enrollment letter.
⚙️ How to Activate and Use Copilot in VS Code
Once you receive your "Welcome to GitHub Global Campus" approval email, follow these steps to start coding:
1. Enable Copilot in Your GitHub Account
- Go to github.com > Settings > Copilot.
- You will see an option to "Enable GitHub Copilot (Student Plan)". Click to activate.
2. Install the Extension in Visual Studio Code
- Open VS Code.
- Click on the Extensions icon on the left sidebar (or press
Ctrl+Shift+X/Cmd+Shift+X). - Search for
GitHub Copilot(published by GitHub) and click Install. - Install the companion extension
GitHub Copilot Chat.
3. Sign In and Test
- Click the account icon in the bottom-left corner of VS Code and select "Sign in with GitHub".
- Authorize the extension in your browser.
- Open any code file (e.g.,
app.pyorindex.js), write a comment like:
# Function to scrape product prices and return a clean JSON object
- Press
Tabto accept Copilot's ghost text suggestions, or pressCtrl+I(Cmd+I) to open Copilot Inline Chat.
💡 Maximize Your AI Workflow
Now that you have unlimited AI coding assistance, take your workflow to the next level:
- Need AI Prompts for Coding & Design? Browse our curated library of verified prompts: 👉 Explore TopImagePrompt Library →
- Want to Unlock More Free Software? Read our master guide on How to Get Premium AI Tools for FREE in 2026.
- Need Free Image Generation? Check out our review of the 6 Best Free AI Image Generators (No Sign Up).