Key instructions to preserve
📸 INPUT REFERENCE: Use the uploaded photo as the base — preserve the subject's exact identity, pose, clothing, background and composition precisely as they appear in the original, regardless of how blurry, pixelated or
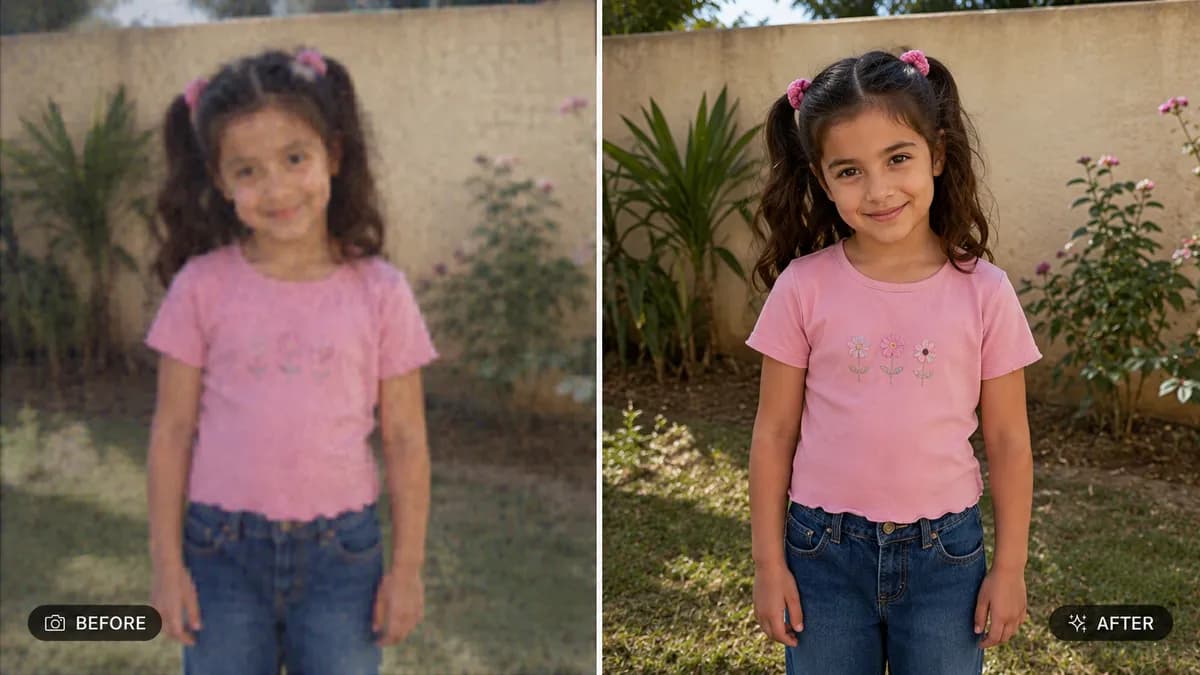
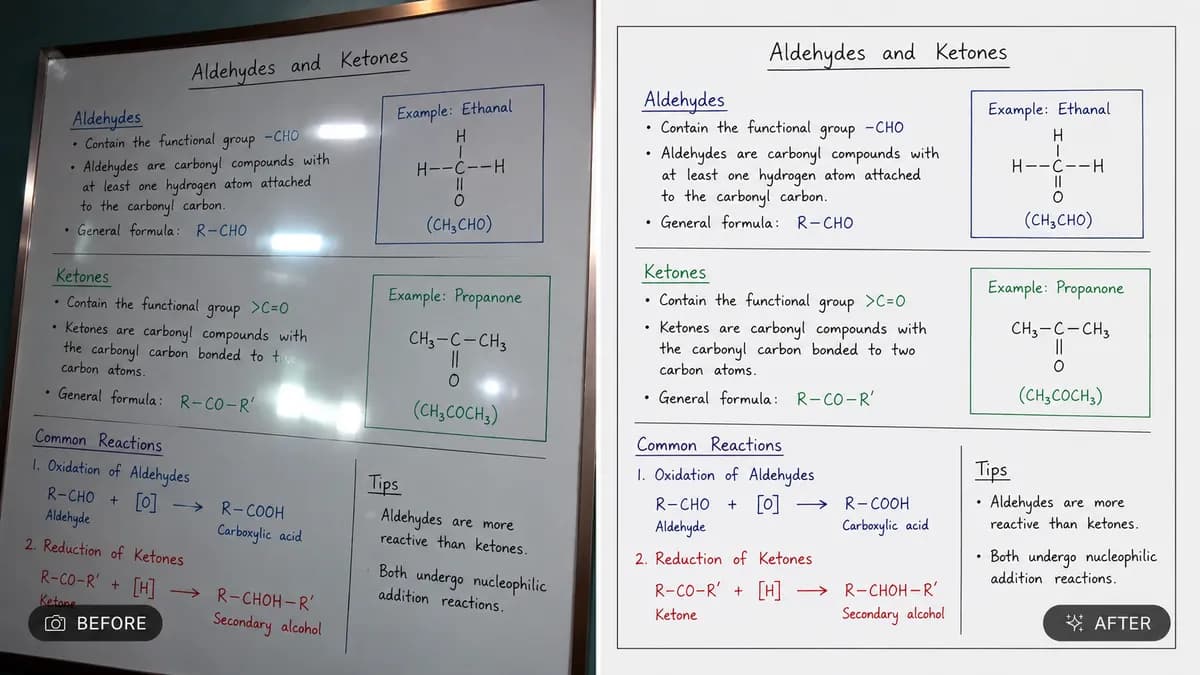
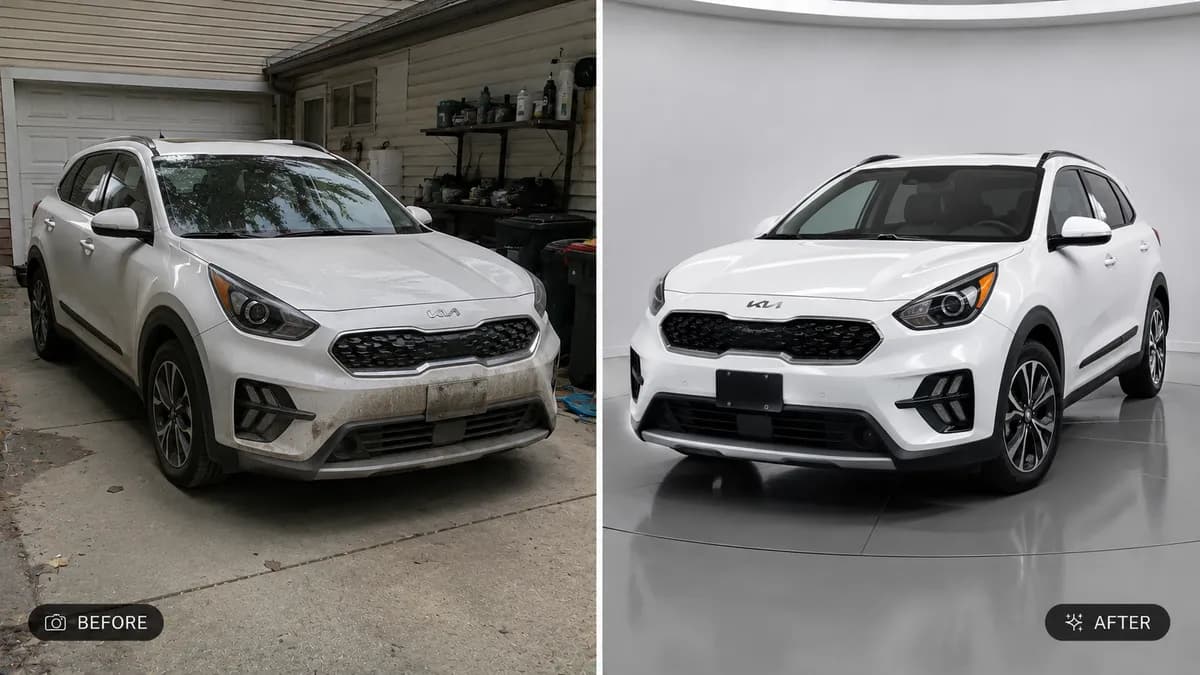
📸 INPUT REFERENCE: Use the uploaded photo as the base — preserve the subject's exact identity, pose, clothing, background and composition precisely as they appear in the original, regardless of how blurry, pixelated or low quality the source image is 🔍 UPSCALING TASK: Increase the image resolution significantly while reconstructing fine detail that was lost to compression, blur or low pixel count — sharpen facial features, fabric texture, hair strands and background elements so the result looks like it was captured on a modern high-resolution camera 🧠 INTELLIGENT DETAIL RECONSTRUCTION: Where detail is genuinely missing or unclear in the source (heavily pixelated areas, compression artifacts, motion blur), realistically infer and reconstruct plausible fine detail using context from the surrounding image — skin texture, fabric weave, natural hair strands — without inventing new identifying features that weren't there 🚫 NOISE & ARTIFACT REMOVAL: Eliminate JPEG compression blocks, digital noise, and blur halos completely, leaving clean smooth gradients and crisp edges throughout 💡 LIGHTING & COLOR PRESERVATION: Maintain the exact original lighting direction, color temperature and exposure balance of the source photo — only sharpness and resolution improve, not the overall mood or color grade 🖌️ STYLE: Photorealistic enhancement — final result must look like a single, naturally high-resolution photograph, never an illustrated, painted or overly synthetic "AI-smoothed" result 🚫 IDENTITY PRESERVATION: Never alter facial structure, body proportions, or any identifying feature — resolution and clarity only 📐 ASPECT RATIO: Preserve the original photo's exact aspect ratio and framing

0 people have copied this prompt
Upscale and Sharpen Low Resolution Photo is a transformation prompt for GPT Image 2, composed for a 16:9 image. 📸 INPUT REFERENCE: Use the uploaded photo as the base — preserve the subject's exact identity, pose, clothing, background and composition precisely as they appear in the original, regardless of how blurry, pixelated or
📸 INPUT REFERENCE: Use the uploaded photo as the base — preserve the subject's exact identity, pose, clothing, background and composition precisely as they appear in the original, regardless of how blurry, pixelated or
Keep the prompt structure, then replace the main subject, action, or environment in "📸 INPUT REFERENCE: Use the uploaded photo as the base — preserve the subject's exact identity, pose, clothing, background and composition precisely a...".
Adjust one visual signal at a time, such as "upscale photo ai", "increase photo resolution", "sharpen blurry photo", "ai photo enhancer", so you can identify which instruction changes the result.
Use the wide frame to establish the environment, place supporting details around the subject, and maintain a clear focal point.
Use one clear reference image and retain the identity-lock instructions when changing clothing, lighting, background, or camera direction.
Use direct natural-language edits after the first generation. State what must remain unchanged before describing the single element you want to revise.
Judge the result by how clearly it communicates the intended transformation direction while keeping the subject, environment, and visual treatment consistent.
Three simple steps to generate your AI image.
Click the "Copy Full Prompt" button above to copy the entire prompt text to your clipboard instantly.
Open your preferred image generator and paste the prompt into the text input. You're ready to create.
Hit generate and watch the magic happen. Tweak the prompt parameters to make it your own.